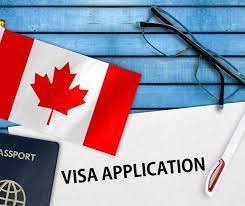
Indian Visa For Bolivia And Colombia Citizen:
If you’re a citizen of Bolivia or Colombia planning a trip to India, getting the right visa is crucial. This article guides you through the process of obtaining an Indian visa, from determining the correct visa type to attending your visa appointment.
By following these steps, you’ll be well-prepared to apply for and hopefully secure your Indian visa smoothly. Remember to check your eligibility, gather necessary documents, fill out the online application form, pay the visa fee, and schedule your appointment.
With proper preparation and attention to detail, you’ll soon be on your way to exploring the vibrant culture and rich history that India has to offer.
Key Takeaways
- Determine the appropriate visa type based on travel plans and restrictions.
- Check eligibility requirements, including passport validity and previous visa history.
- Gather all required documents, such as a valid passport and proof of address.
- Schedule and attend the visa appointment in advance, preparing thoroughly for the interview.
Determine Your Visa Type
Before you can jet off to India, you gotta figure out what type of visa you need! When it comes to INDIAN VISA FOR BOLIVIA CITIZENS and INDIAN VISA FOR COLOMBIA CITIZENS, it’s essential to determine your visa type based on your travel plans.
The two main factors to consider are visa duration and visa restrictions.
First off, let’s talk about visa duration. Depending on the purpose of your visit, you may need a different type of visa. For example, if you’re planning a short trip for tourism or business, you might opt for a tourist visa or a business visa, which typically allow stays of up to 180 days. On the other hand, if you’re looking to study, work, or stay for a longer period, you may need a student visa, employment visa, or long-term visa with specific duration limits.
Now, let’s delve into visa restrictions. Each type of visa comes with its own set of restrictions that you must adhere to during your stay in India. These restrictions can include limitations on work activities, travel within the country, or extensions of stay beyond the initial visa duration.
Once you’ve determined the type of visa that suits your travel needs, it’s time to check your eligibility to ensure you meet all the necessary requirements for obtaining an Indian visa.
Check Your Eligibility
To ensure your eligibility for the Indian visa, you need to check your passport validity, purpose of visit, and previous visa history.
Make sure your passport is valid for at least six months beyond your intended stay in India.
Clearly state the purpose of your visit whether it’s for tourism, business, medical treatment, or other reasons.
Additionally, disclose any relevant information about your previous visa history to avoid any complications during the application process.
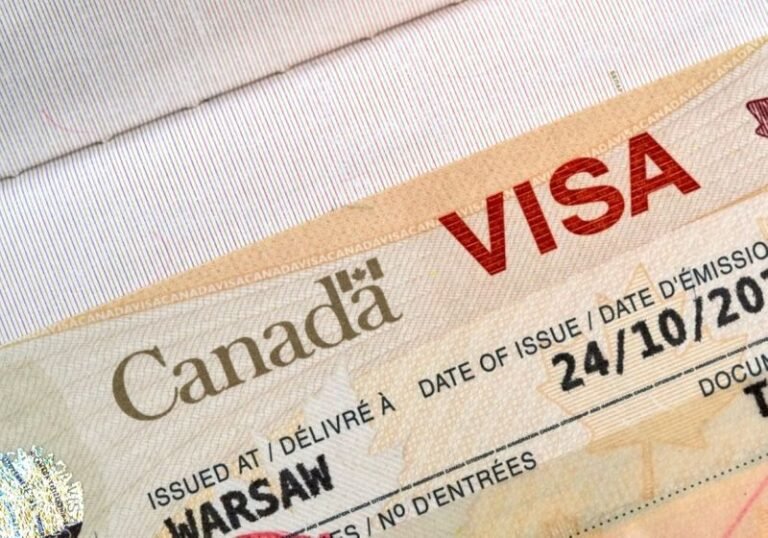
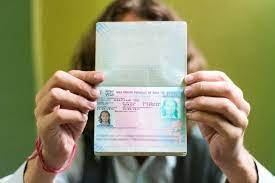
Passport Validity
Make sure your passport is valid for at least six months beyond your planned departure date when applying for an Indian visa. Visa requirements and travel restrictions mandate this validity to ensure a smooth visa application process.
Indian authorities require this extended validity to accommodate any unforeseen circumstances that may arise during your visit. Failure to meet this passport validity requirement could result in delays or even denial of your visa application.
Additionally, having a valid passport ensures that you can travel freely within India without any issues. Once you have confirmed your passport’s validity, you can proceed to the next section about the purpose of your visit to India.
Purpose of Visit
Explore the various reasons for your visit to India and discover the unique experiences awaiting you in this diverse and vibrant country.
When considering your travel intentions and visa category, think about the following:
- Immerse yourself in the rich cultural heritage and history by visiting iconic landmarks like the Taj Mahal and Jaipur’s Pink City.
- Experience the spirituality and tranquility of ancient temples and sacred sites, such as Varanasi and Rishikesh.
- Indulge in the diverse culinary delights and colorful markets, offering a feast for the senses in cities like Mumbai and Delhi.
Embarking on this journey will surely be a memorable one. Now, let’s delve into your previous visa history.
Previous Visa History
Discovering your previous visa history can provide valuable insights into your travel patterns and experiences. It is essential to note any visa restrictions you may have encountered in the past when applying for an Indian visa.
Understanding the visa duration of your previous travel documents can also help streamline the application process for an Indian visa. By being aware of these details, you can ensure a smoother and more efficient visa application experience.
Once you have gathered this information, you can move on to the next section about gathering the required documents for your Indian visa application.
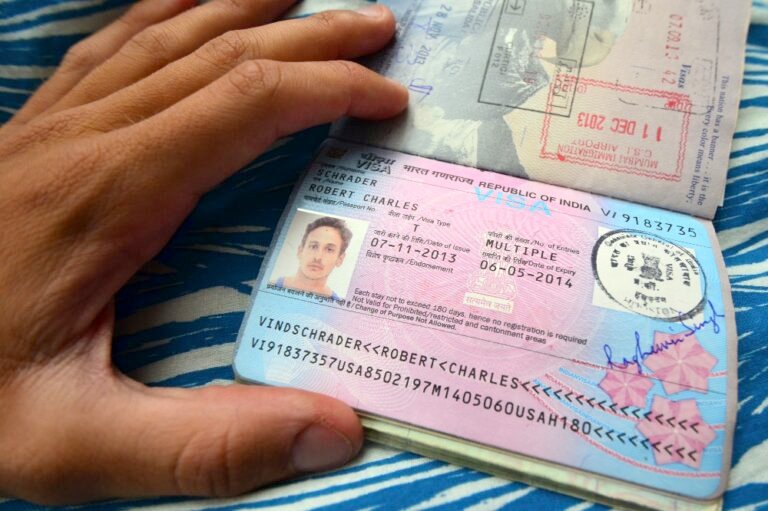
Gather Required Documents
Ensure that you have all the necessary documents before applying for an Indian visa as a citizen of Bolivia or Colombia. Document submission and processing time are crucial factors to consider when gathering the required paperwork.
To make the application process smoother, follow this document checklist and visa requirements:
- A valid passport with at least six months validity remaining from the date of arrival in India.
- Two recent passport-sized photographs with a white background.
- Proof of residential address in Bolivia or Colombia, such as a utility bill or a bank statement.
Once you have all the required documents ready, it’s time to proceed with the next step of the application process. Fill out the online application form to provide your personal information and details about your trip to India.
Fill Out the Online Application Form
Don’t wait any longer, start filling out the online application form for your upcoming trip to India. The application process for an Indian visa can be straightforward if you pay attention to detail and avoid common mistakes. When filling out the form, make sure to provide accurate information about your personal details, travel plans, and purpose of visit. Double-check all entries before submitting to prevent any delays in the processing of your visa application.
If you encounter any difficulties while filling out the online form, don’t hesitate to seek online assistance. There are troubleshooting tips available on the official website to help you navigate through any technical issues you may encounter. Remember, it’s crucial to input correct information to ensure a smooth visa application process.
Be mindful of common mistakes such as spelling errors, incorrect dates, or missing information. These small errors can result in delays or even rejection of your visa application. Take your time to review each section of the form carefully before submitting.
Now that you have completed filling out the online application form, it’s time to proceed to the next step of paying the visa fee. Make sure to follow the instructions provided on the website to complete this final requirement for your Indian visa application.
Pay the Visa Fee
Upon completing the online application form, the next step is to pay the visa fee to continue the process smoothly. When it comes to payment options, Indian visas for Bolivia and Colombia citizens can be paid for using various methods such as credit/debit cards, net banking, and e-wallets. It is essential to ensure that the payment is made using a valid method to avoid any delays in the processing time.
To provide more clarity, below is a table outlining the different payment options available for Indian visas:
| Payment Option | Accepted Methods |
|---|---|
| Credit/Debit Card | Visa, Mastercard, American Express |
| Net Banking | Select Banks in Bolivia/Colombia |
| E-Wallets | PayTM, PhonePe, Google Pay |
It is important to note that fee waivers may be applicable for certain individuals, such as senior citizens or children under a certain age. Once the payment has been successfully made, a payment confirmation will be provided, which serves as proof of payment for the visa application.
After completing the payment process, the next section will guide you on how to schedule and attend your visa appointment seamlessly.
Schedule and Attend Your Visa Appointment
Once you’ve paid the visa fee, the next step is to schedule and attend your appointment smoothly. It’s crucial to check the appointment availability at the Indian consulate or embassy in your country. Make sure to schedule your appointment well in advance to secure a convenient date and time. In case you need to reschedule for any reason, contact the consulate or embassy promptly to make the necessary arrangements.
Before attending your visa appointment, it’s essential to prepare thoroughly for the visa interview. Gather all the required documents, including your passport, visa application form, proof of funds, and travel itinerary. Be ready to answer questions about your purpose of visit, travel plans, and ties to your home country. It’s also helpful to dress professionally and arrive on time for your appointment.
Visa interview preparation tips can include practicing common interview questions, maintaining eye contact, and speaking confidently. Remember to stay calm and composed throughout the interview process. After attending your visa appointment, you will need to await visa approval and travel to India. This next step involves patiently waiting for the visa processing time and making necessary arrangements for your upcoming trip to India.
Await Visa Approval and Travel to India
Prepare yourself for an exciting journey to India as you eagerly await the approval of your visa and start making plans for your upcoming trip. Once your visa is approved, it’s time to pack your bags and get ready to immerse yourself in the rich cultural exchange that India has to offer. From the bustling streets of Delhi to the serene backwaters of Kerala, India is a country that will captivate your senses and leave you with unforgettable memories.
As you prepare for your trip, consider taking advantage of language immersion opportunities to truly make the most of your time in India. Whether you’re interested in learning Hindi, Tamil, or any of the other numerous languages spoken in India, immersing yourself in the local language will not only enhance your travel experience but also help you connect with the people and culture on a deeper level.
To help you plan for your trip, here is a table outlining some key aspects to consider before traveling to India:
| Aspect | Consideration |
|---|---|
| Accommodation | Book hotels or homestays in advance |
| Transportation | Research local transportation options |
| Currency Exchange | Exchange currency for Indian Rupees |
| Cultural Etiquette | Familiarize yourself with Indian customs |
Embrace the anticipation of your upcoming journey to India, where you’ll have the chance to engage in a cultural exchange and immerse yourself in the beauty of this diverse and vibrant country. Get ready for an adventure of a lifetime!
Frequently Asked Questions
Are there any special requirements or restrictions for Bolivian and Colombian citizens applying for an Indian visa?
When applying for an Indian visa, make sure to check the specific visa requirements for Bolivian and Colombian citizens. Follow travel tips provided by the Indian embassy to ensure a smooth application process and avoid any restrictions.
When applying for an Indian visa, you will need to pay the visa fees and provide the necessary documents such as a valid passport, passport-sized photos, and proof of travel arrangements.
Is there a specific timeline for how long the visa approval process takes for Bolivian and Colombian citizens?
The processing time for visa approval varies, typically taking a few weeks. Make sure you meet all visa requirements to avoid delays. Once approved, entry restrictions may apply, so plan accordingly.
The visa processing time for Bolivian and Colombian citizens can vary, but typically takes a few weeks. Make sure to have all necessary documents ready. When traveling, be aware of cultural differences and practice proper travel etiquette.
Are there any additional steps or considerations for Bolivian and Colombian citizens traveling to specific regions or states in India?
When traveling to specific regions or states in India, be aware of any visa restrictions and follow travel advisories. Check the latest information and guidelines to ensure a smooth and hassle-free trip.
Conclusion
Now that you have completed all the necessary steps for applying for an Indian visa as a citizen of Bolivia or Colombia, all that’s left to do is await your visa approval and get ready for your trip to India!
Remember to double-check all your documents and information to ensure a smooth process. Safe travels and enjoy your time exploring the vibrant culture and beauty of India. Bon voyage!